
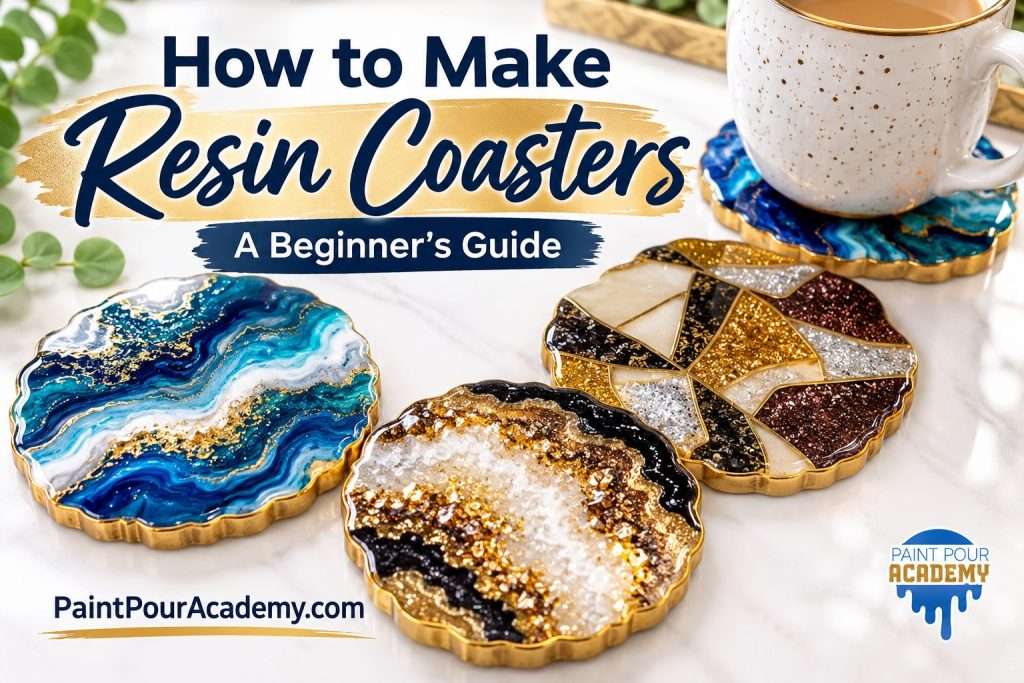
How to make resin coasters is one of the questions I hear most from people who are curious about resin but a little nervous to start. And honestly? Coasters are where I’d send any friend first.
My very first resin project was a set of geode coasters. I used geode-shaped silicone molds, poured solid color resin, and added glitter resin right next to it. That was it. No fancy techniques, no special tools. They came out sparkly and fun, and I was hooked. (Watch my first resin coaster project here.)
Coasters are small, so you don’t need much resin. The molds do most of the shaping for you. And if one doesn’t turn out the way you hoped, you’ve only used a little bit of material. Plus, a set of handmade coasters makes a gift people actually use.
In this guide, I’ll walk you through how to make resin coasters step by step, share a few easy designs I’ve made myself, and help you skip the mistakes that trip up most beginners.
What You Need to Make Resin Coasters
You don’t need a big studio setup for this. Here’s my basic list:
- Epoxy resin (a two-part resin and hardener). Read the label before you buy so you know the mixing ratio and cure time.
- Silicone coaster molds. Geode shapes, rounds, squares, or molds with a built-in pattern all work.
- Mixing cups and stir sticks. Graduated cups make measuring easier.
- Color. Mica or pigment powder, resin dye, or glitter.
- A heat gun or small torch for popping bubbles.
- Nitrile gloves and good ventilation. (Here’s why I’m picky about my resin gloves, and my resin safety tips.)
- A level surface and something to cover your table.
- Optional finishing: cork or felt backing pads, sandpaper, and a metallic paint marker for the edges.
If you’re brand new to resin, my Beginner’s Guide to Resin Art covers the basics in more detail.

How to Make Resin Coasters, Step by Step
1. Set up your space
Cover your table, make sure your molds sit level, and put your gloves on before you open anything. Resin finds its own level, so a tilted table means a tilted coaster.
2. Measure and mix your resin
Follow your resin’s ratio exactly. Mix slowly and scrape the sides and bottom of the cup as you go. Most sticky, soft spots come from resin that wasn’t mixed well. My resin mixing guide goes deeper on this.
3. Add your color
Split your resin into smaller cups and color each one. A little pigment goes a long way. If you’re not sure where to start, here’s how I color and dye resin.
4. Pour into the molds
Pour slowly, close to the mold, so you trap fewer bubbles. Fill each coaster to the same depth so your set matches.
5. Pop the bubbles
Pass your heat gun or torch quickly over the surface. Keep it moving. If bubbles keep showing up, my post on how to fix bubbles in resin walks through what actually works.
6. Let it cure
Cover the molds to keep dust out and leave them alone. Check your resin’s label for demold and full cure times. If you’re running into tacky coasters, read why resin doesn’t cure.
7. Demold and finish
Flex the mold gently and pop each coaster out. Sand any sharp edges, add cork or felt backing so they don’t scratch furniture, and if you want a polished look, run a metallic paint marker around the edges. That last step is my favorite. It makes even a simple coaster look finished.
Want more easy projects like this?
Grab my free Fluid Art Starter Kit. It includes beginner pouring guides plus a full resin wall art class, free.
3 Easy Resin Coaster Ideas for Beginners
I’ll be honest, I’m not a “pour and go” coaster person. I love coasters that look a little unexpected. But these three are still beginner-friendly, and I’ve made every one of them.
Glitter geode coasters
This is the one I started with. Use geode-shaped molds, pour a solid color resin, and add glitter resin beside it. The mold gives you that natural geode edge without any extra work. Watch the geode coaster video.
Temporary tattoo coasters
This one feels like magic. Flood the mold with a solid color and let it cure. Then apply a temporary tattoo on top and flood it with clear resin. The design looks like it’s floating inside the coaster. Watch the tattoo coaster video.
Wave mold coasters with a velvet effect
This is probably the easiest of all. I bought coaster molds that already had a wave pattern built in. I painted pigment powder into the mold, poured the resin, and ended up with a soft, velvety look. The mold does the design for you. Watch the wave coaster video.
Want more ideas? I keep all my coaster projects in one resin coaster playlist on YouTube, including water drop coasters and bloom coasters. If the water drop look catches your eye, I have a full course on it inside the Academy, and you can read about how to create the water drop effect with resin here.
Ready for More? My Washi Tape Geode Coasters
My second coaster project was not a typical starter project at all. I’d already worked with resin, so I wasn’t afraid to try something with more steps.
Here’s how it came together:
- I poured a first layer of resin and let it cure.
- I pressed washi tape onto the cured layer and cut it into shapes.
- I outlined the washi tape with Pebeo Vitrail Relief Paint.
- I mixed pigment powder with gloss varnish and painted in the open areas, then let everything dry.
- I flooded the whole coaster with clear resin and let it cure.
- Last, I painted the edges with a metallic bronze marker.
It was so much fun, but it took several days because of all the drying and curing time between layers. Think of this as a “once you’ve done a few” project, not your first one. Watch the washi tape geode coaster video.
[Image suggestion: the finished gold, silver, and black washi tape coasters with the bronze marker on the edges.]
Common Resin Coaster Mistakes (and How to Avoid Them)
- Sticky or soft spots. Usually a measuring or mixing problem. Measure exactly and scrape the cup while you stir.
- Bubbles frozen in the coaster. Pour slowly and pop bubbles right after pouring, before the resin starts to thicken.
- Uneven tops. Check that your molds are level before you pour, not after.
- Rushing the layers. Layered designs need each step to cure or dry fully. My washi tape coasters took several days for exactly this reason.
- Dust and hair on the surface. Cover your molds while they cure.
I’ve made my share of mistakes too. My resin bloom coaster mistakes post is a good example of what happens when timing gets away from you.
Are resin coasters heat safe?
Not always. Many craft resins can soften or show rings under a hot mug, so check your resin’s heat rating before you gift a set for coffee lovers. The same goes for food contact: if your coasters might touch food, use a resin labeled food safe once cured, and follow the label exactly.
Turning Your Coasters Into a Gift
Coasters are one of my favorite handmade gifts because people actually use them. A few tips:
- Make a set of four. It looks intentional, even if each one is a little different.
- Start early. Between curing and finishing, give yourself extra days, especially for layered designs.
- Match the person. Ocean colors for the beach lover, gold and black for someone with a modern home.
- Add a little note about not setting hot pans on them.
Looking for more handmade gift ideas? Here are my favorite acrylic pouring gifts, and if you have resin left over after your pour, try one of these leftover resin projects.

Resin Coaster FAQ
How long does it take to make resin coasters?
A simple one-pour coaster is mostly waiting time, so check your resin’s cure time on the label. Layered designs take longer. My washi tape geode coasters took several days because each layer had to dry or cure first.
What’s the easiest way to make resin coasters as a beginner?
Use a mold that does the design for you. Geode molds or molds with a built-in wave pattern are great first choices. Add a little color or glitter, pour, and let the mold handle the shape.
Can I add things like stickers or tattoos inside a coaster?
Yes! I’ve used temporary tattoos. Pour and cure a colored base layer first, apply the tattoo, then flood it with clear resin so the design looks like it’s floating inside.
Do I need resin experience to try the fancier designs?
Not required, but it helps. I’d already worked with resin before my washi tape coasters, so I knew what to expect from curing and layering. Start with one easy set, then work up to multi-step designs.
Keep Learning Resin With Me
Once you know how to make resin coasters, you’ve already learned the basics most resin projects are built on: measuring, mixing, coloring, and curing. If you’d like to keep going with step-by-step guidance, the Resin Success Bundle includes 3 resin courses plus 3 bonus reference guides, all for $67.
I can’t wait to see the coasters you make!


